Utilizing the fx Parameters table and iLogic functionality to adjust Inventor iProperties
I am often asked if it is possible to have Autodesk® Inventor automatically adjust the iProperties “Part Number“ field based off of user input. This can be accomplished many ways using the built in iLogic functionality. We will take a look at this today utilizing the fx Parameters table and iLogic functionality to adjust the Part Number field. For example, this could be used for “Stamping” or “Engraving”.
First, create a parameter that will host the required part numbers. Do this by opening the fx Parameters dialogue box and adding a new parameter (using the “Add Text” option). Give the new parameter an identifiable name, such as “PartNumber”.
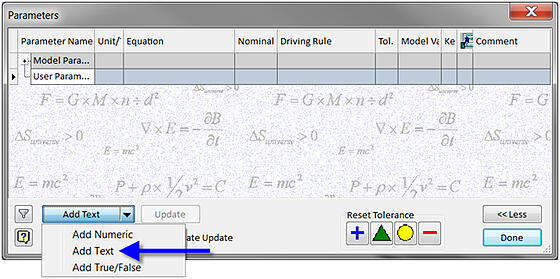
Right click on the newly added parameter and select “Make Multi-Value”.
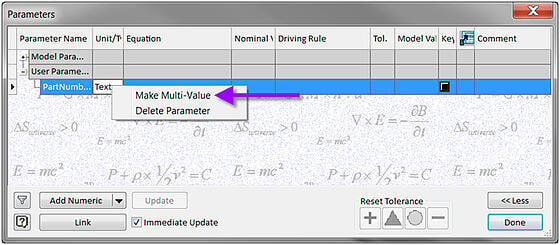
Add the required Part Numbers that you need and select the “Add” button and then select “OK.”
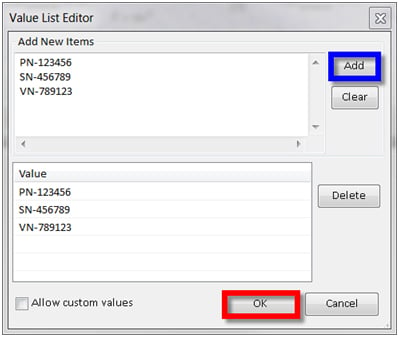
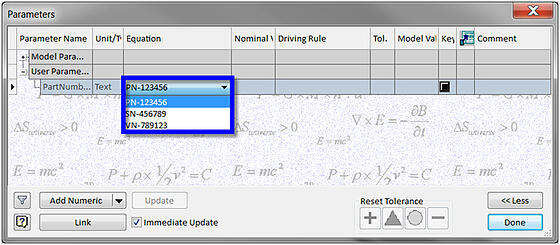
Now the part numbers are available via a pull down menu inside the fx Parameters dialogue box.
Next, create an iLogic rule to drive the “PartNumber” parameter that will populate the iProperty “Part Number” field when called upon.
To do this select the “Add Rule” icon on the iLogic panel on the Manage ribbon menu.

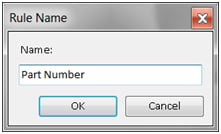
Type in a name for the rule and select “OK."
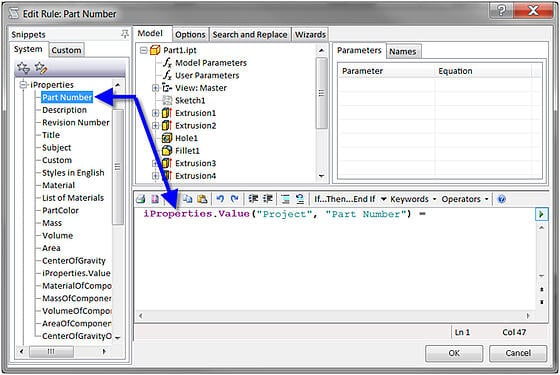
In the “Edit Rule:” dialogue box, locate the iProperties snippet on the left hand side of the screen. Expand the iProperties heading and double left click on “Part Number” label. This will add the text string “iProperties.Value("Project", "Part Number")” in the text area.Add an equal (=) sign after the value.
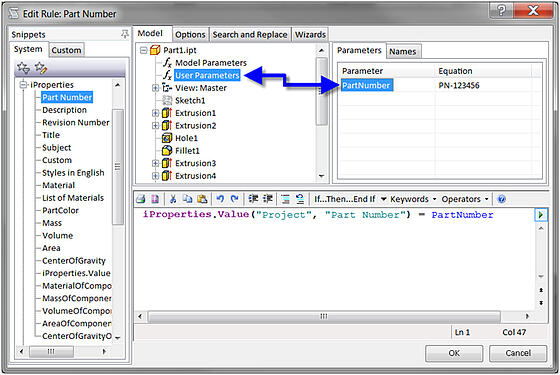
On the Model tab under the part name, left mouse click on “fx User Parameters”. Now double left mouse click on the “PartNumber” parameter under the Parameters tab on the right side of the dialogue box. This will add the text string that represents the part number user parameter we added earlier.
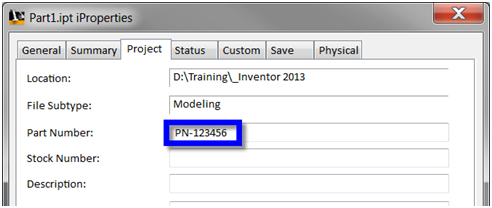
Select “OK” and then open the iProperties dialogue box. Notice the Part Number field has been populated by the user parameter “PartNumber”.
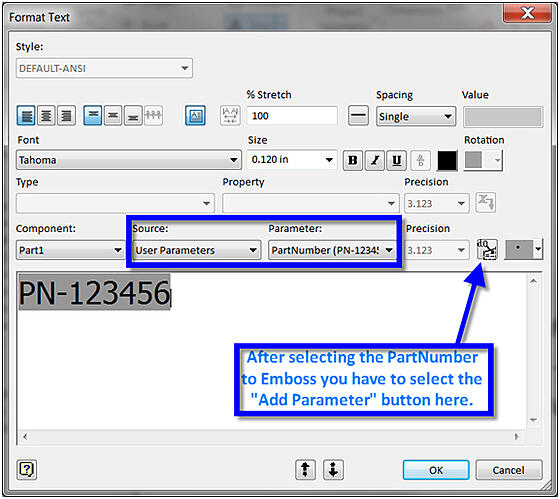
Create a sketch (for the embossing) and add the “PartNumber” parameter into the text dialogue box.
Source: User Parameters Parameter: Part Number Add Parameter
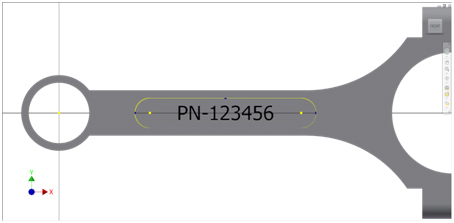
Dimension/locate the text box and close/finish the sketch.
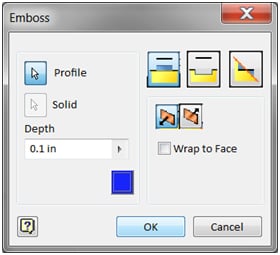
Start the “Emboss” command and select the text as the profile. Set the direction for the Emboss as well as the Depth and select “OK."
The embossed text appears as desired.
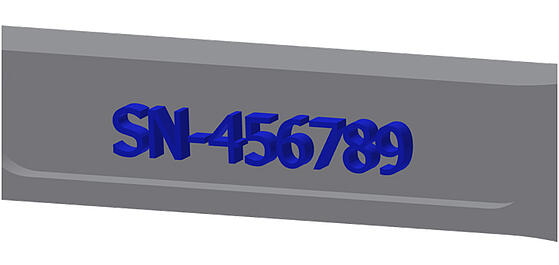
Now modify the “PartNumber” parameter from the pull down menu inside the fx Parameters dialogue box.
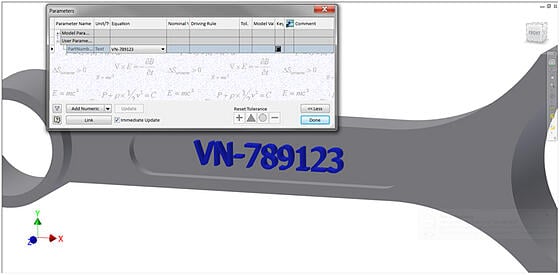
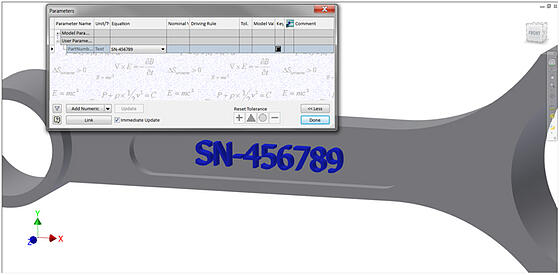
As you change the “PartNumber” parameter inside the fx Parameters box the emboss command will automatically update.
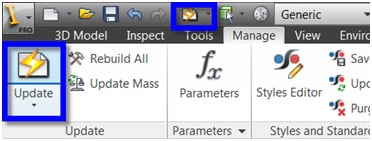
(Note: For releases older than Inventor 2012 you will have to close the fx Parameters box and select the Update command (to see the Emboss update) or save the file.)


Comments