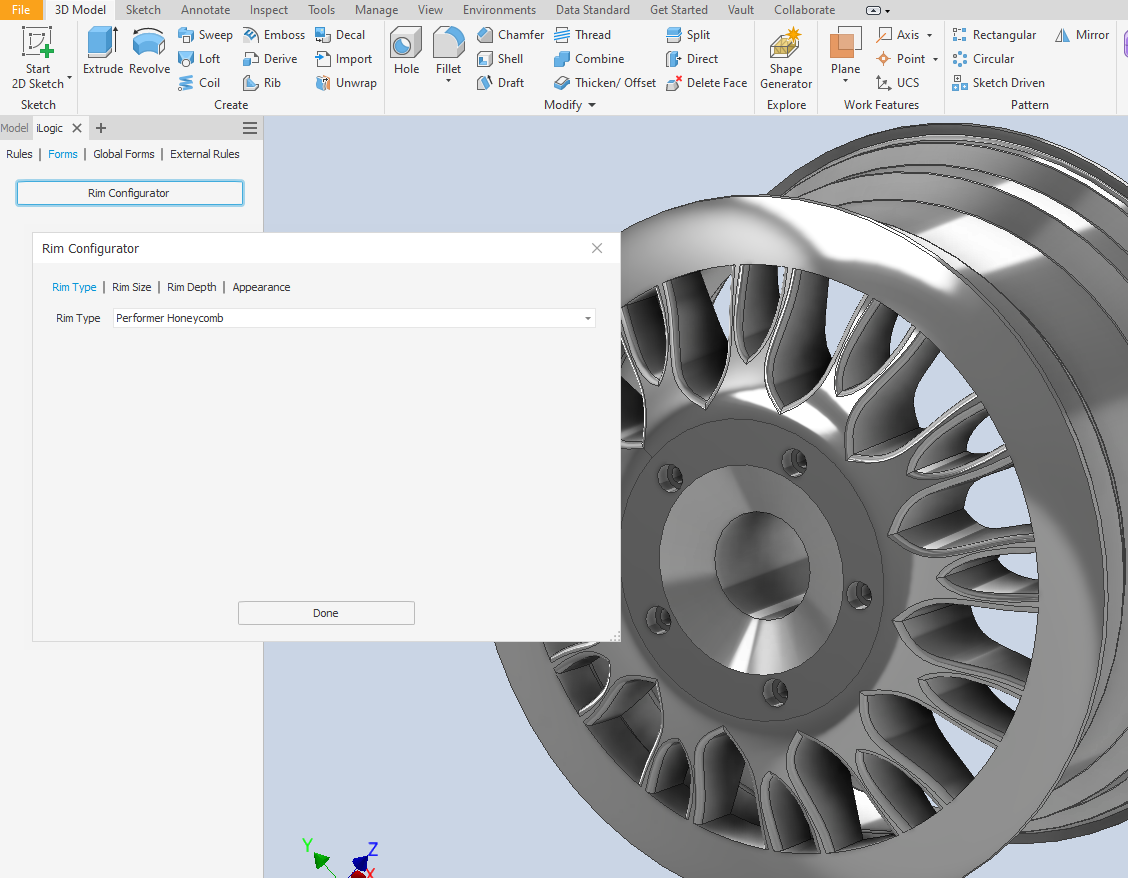
In this short introduction to iLogic, we would like to give you some ideas on getting started with Inventor iLogic and how to use some common rules and forms. The example shown here is an automotive rim controlled by iLogic rules. This Inventor part actually represents several different types and sizes of rims.
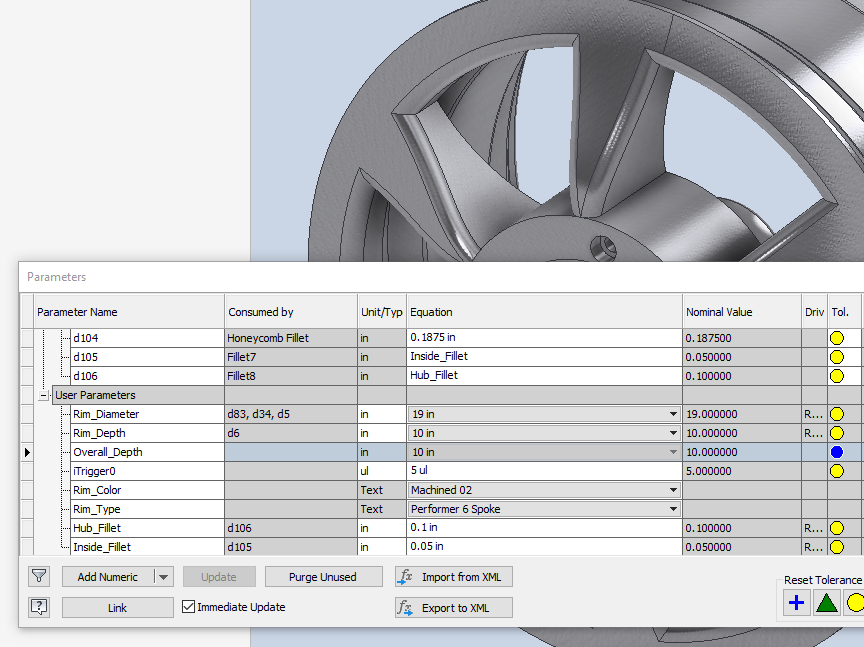
To get started, a common iLogic model uses some defined Inventor “Parameters." For this rim example, “Rim_Diameter, Rim_Depth, and Rim_Type” are defined in the Inventor “Parameters” command and are used when building the model.
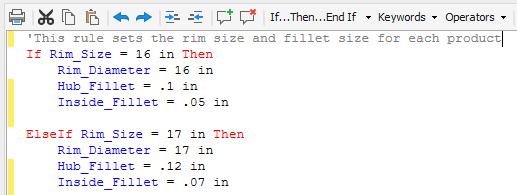
Next, you can create iLogic rules to vary the model. A common iLogic rule uses “If-Then” statements. In this example, Inventor parameters are set to appropriate values in an iLogic rule.
If you create a part configuration from a single part file, a common iLogic rule will set which features are active for each configuration. In this example, the “Rim_Type” is set to a specific configuration. The other configurations are suppressed. In the following screen capture, a “Honeycomb” type of rim will use certain Inventor features. A “Mag Wheel” type of rim will use different Inventor features.

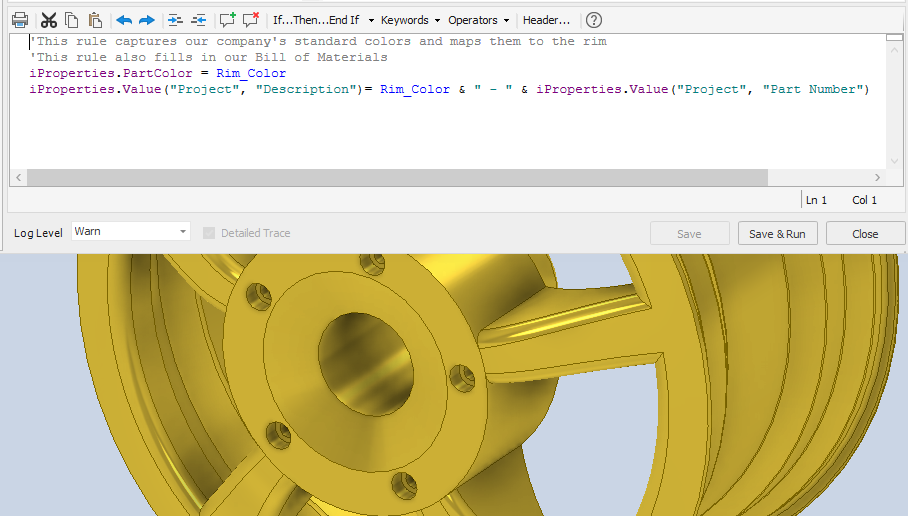
iLogic rules can also automatically fill in iProperties for Bill of Materials. In this example, the rim’s description is automatically filled in as the concatenation of the rim color and the part number.
After iLogic rules are created, a "Configuration Form" can be designed so that any user or customer can quickly determine all the different available configurations. In this example, a Form was created to capture four properties of the rim: “Rim Type, Rim Size, Rim Depth, and Appearance."
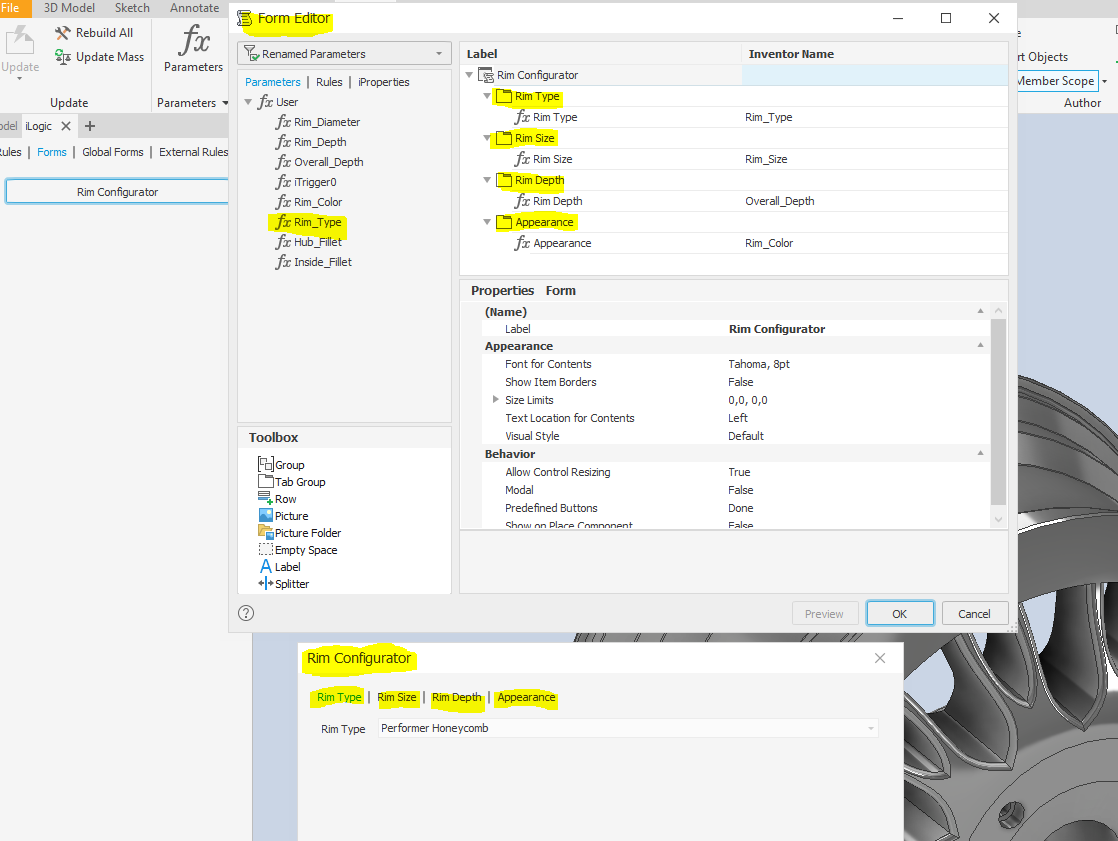
The result is a configuration form to show the variety of the products that you offer:
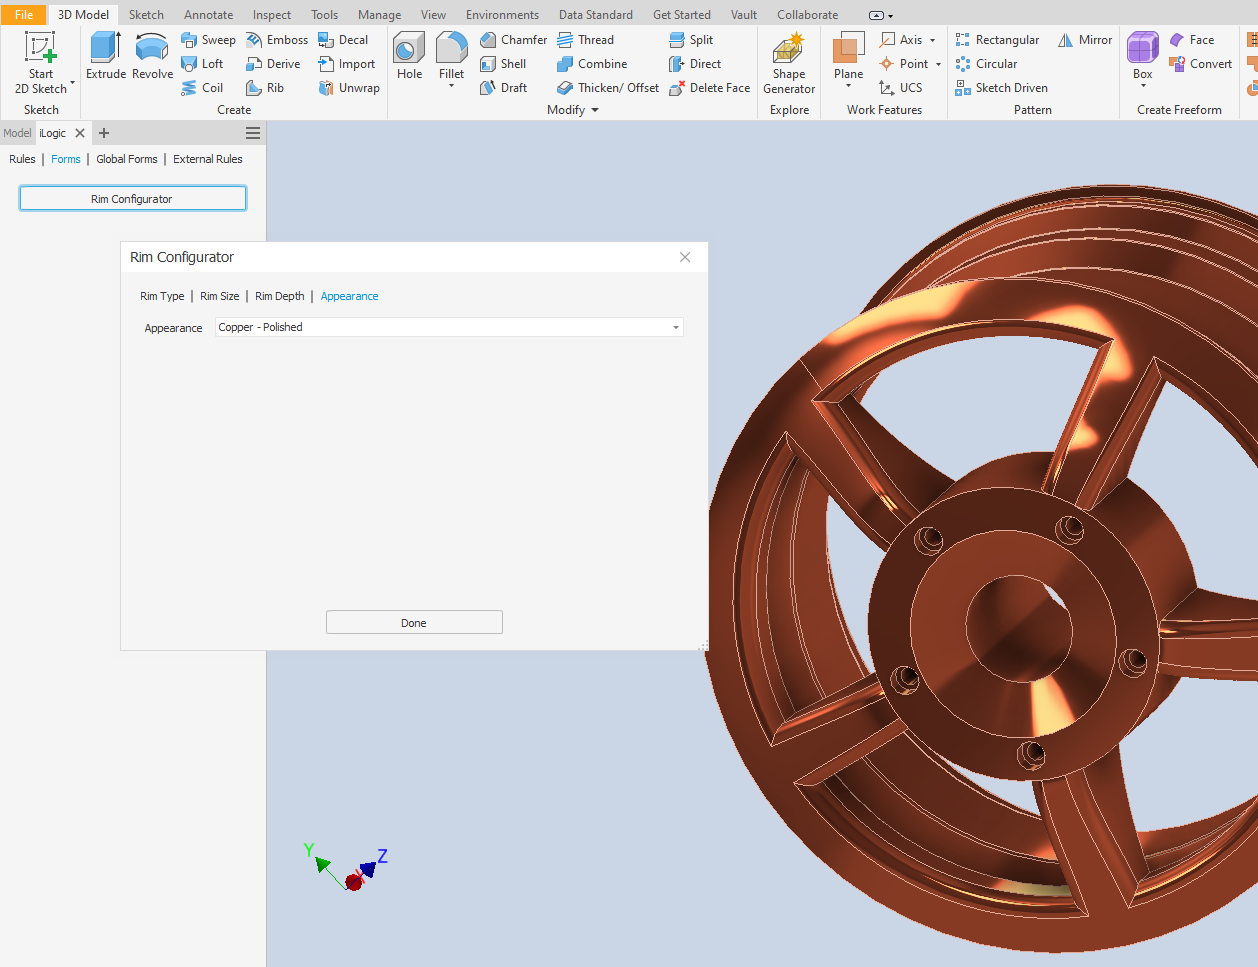
Hopefully, this short example will give you some ideas on using Inventor iLogic to create your configurations. Good Luck!


Comments