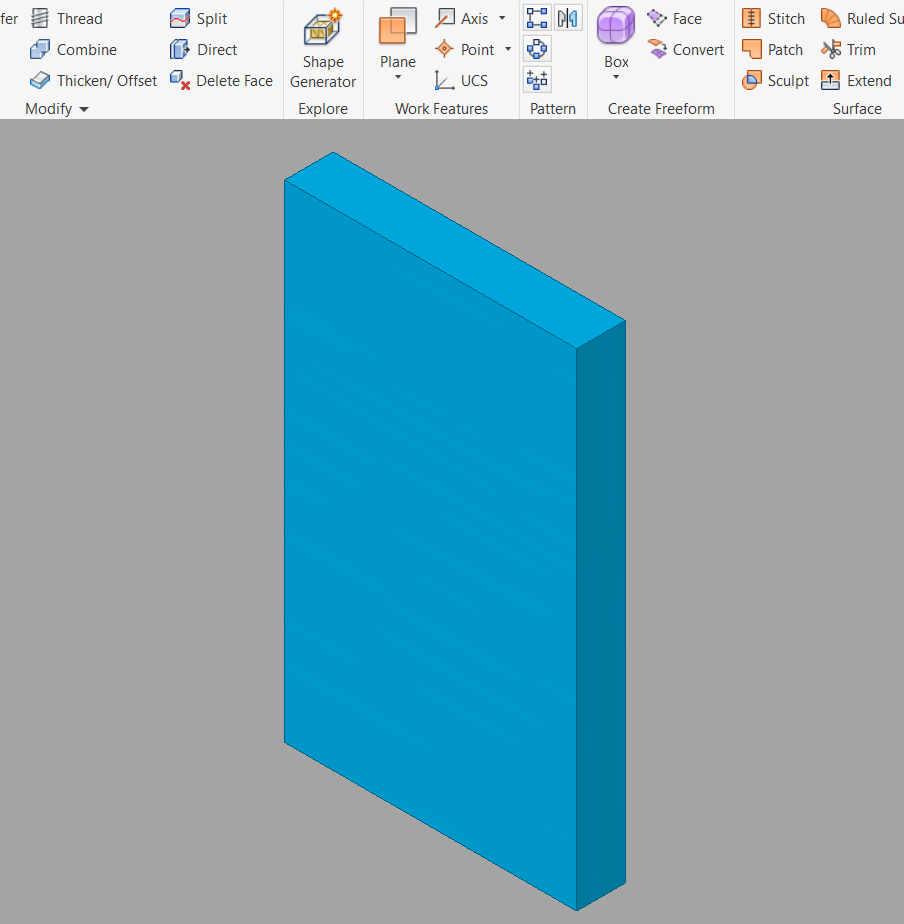
Here is a quick set of commands to add a surface to an existing solid part. We will start with a simple 6X10X1 inch box:
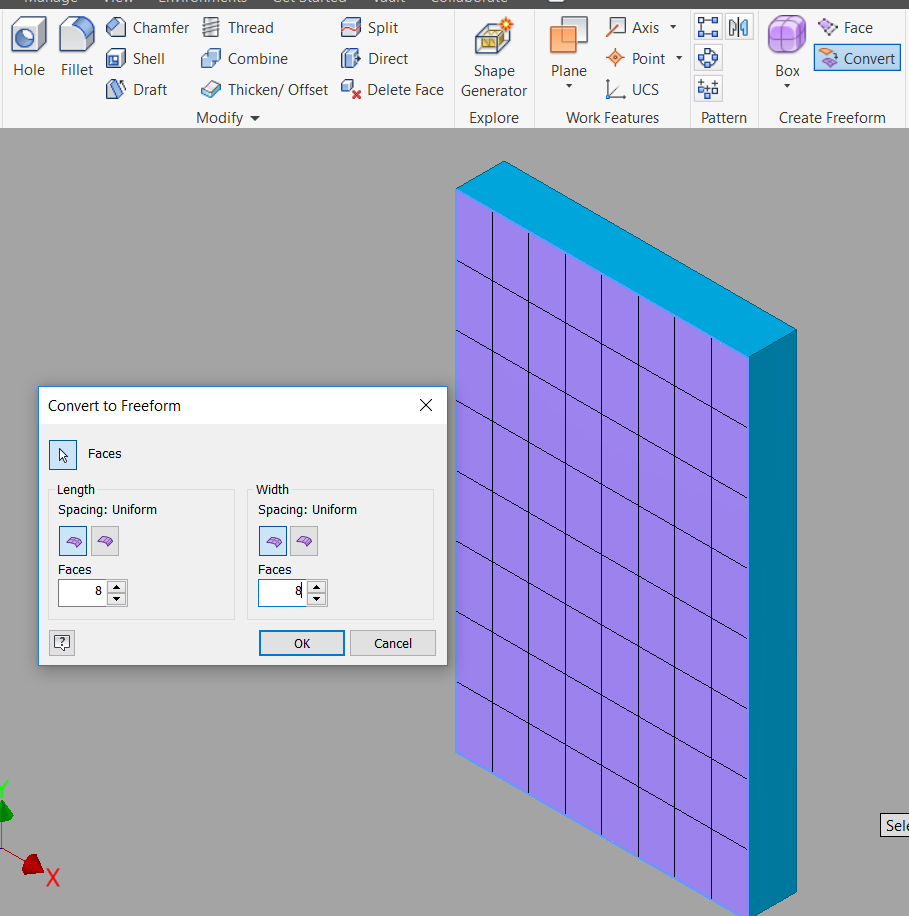
- On the “Create Freeform” Panel, choose the “Convert” command and select the front face shown. Set the face division to 8x8 below:
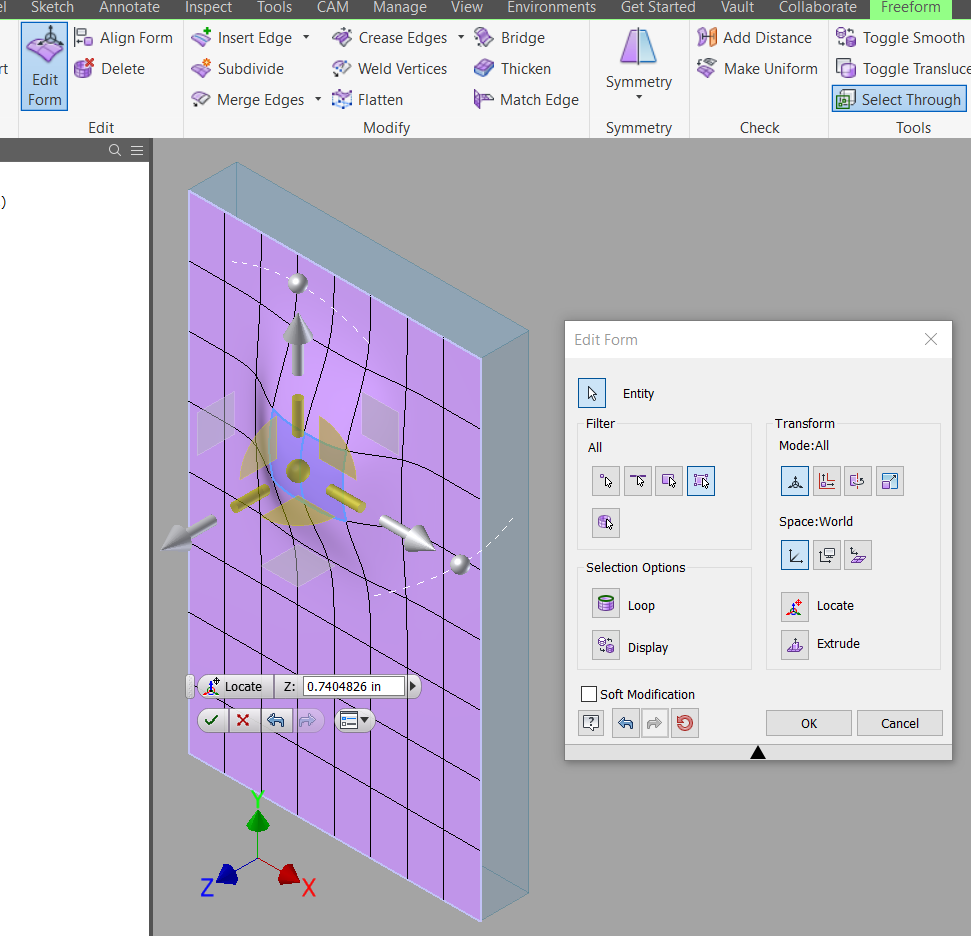
- Choose the “Edit Form” command to pull and stretch your face into what you need:
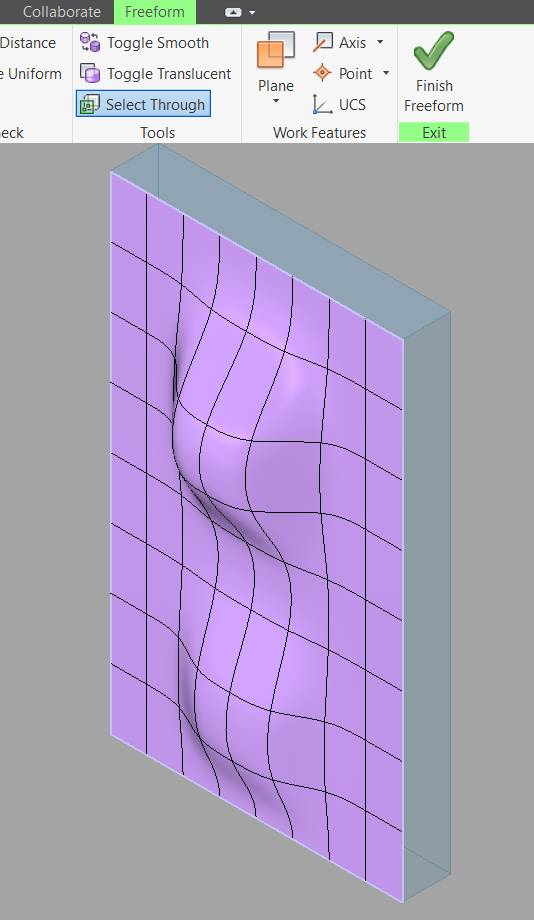
- Choose “Finish Freeform” to exit the surface environment:
- Choose the “Surface Panel / Replace Face” command to replace the old flat solid face with the new surface face that you created:
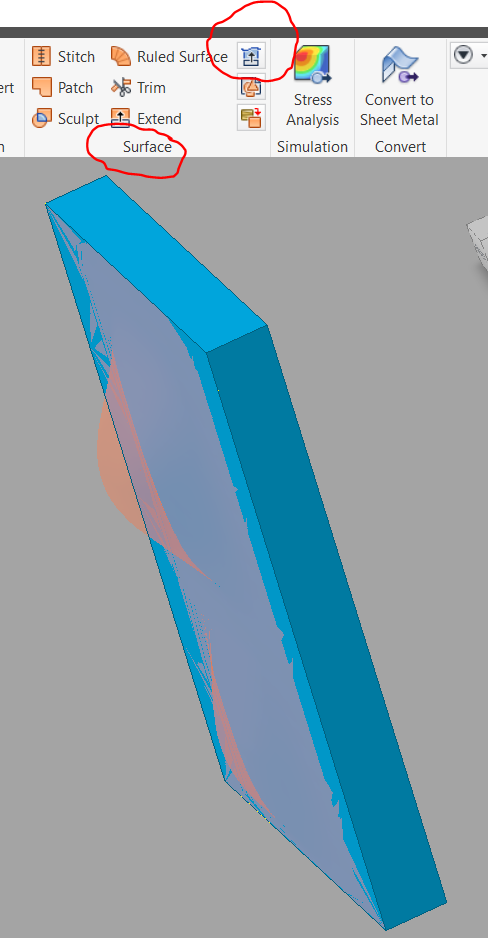
Select the old flat surface first, then select the new surface.
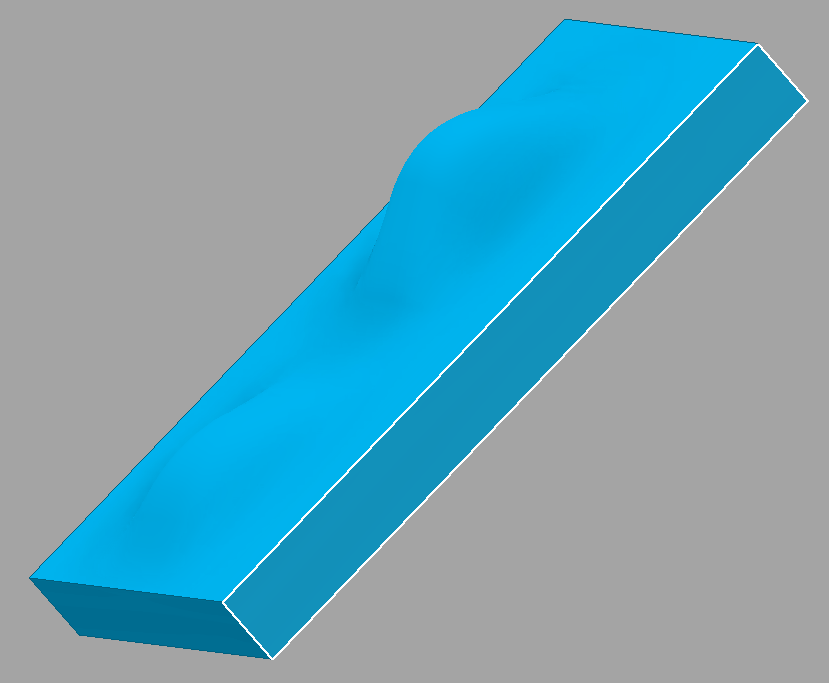
Result: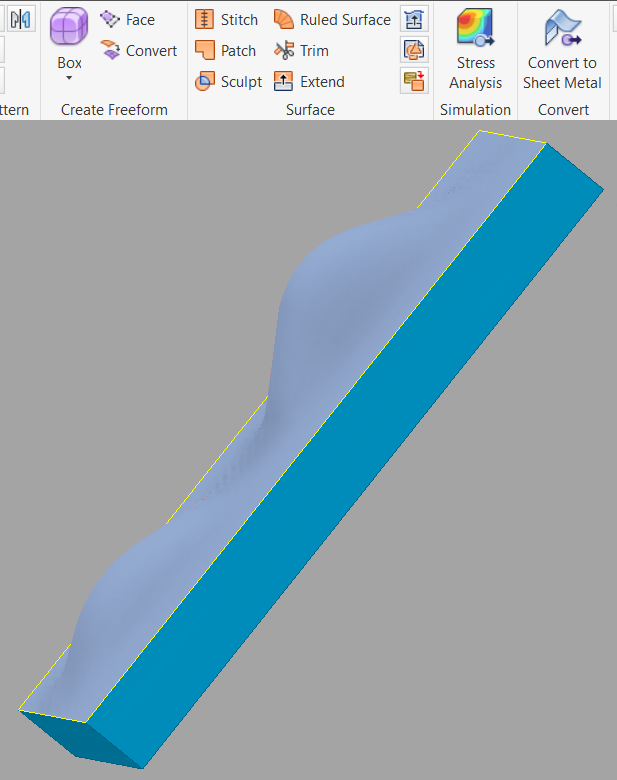
- Last, move your mouse over to the Browser and find “Form1” which is your new surface. Turn off the Visibility of “Form1” so that you can just see your new solid part.
End of Exercise!


Comments