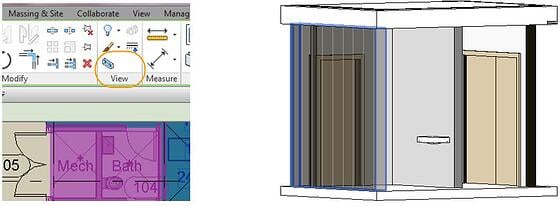
To create an enhanced 3D view of an area of a building in Autodesk® Revit® 2015, you would have had to use “Orient to View”, which utilized pre-existing views in your model. Now with Revit 2016’s new “Selection Box” tool, you can quickly isolate chosen elements in an unobstructed 3D view.
Once the specified 3D section items are selected, choose the ![]() “Selection Box” tool, which is located on the View panel of the Modify|Multi-Select Ribbon tab.
“Selection Box” tool, which is located on the View panel of the Modify|Multi-Select Ribbon tab.

The new view will automatically be placed in the default 3D view {3D}. You can then rename the {3D} view in the Project Browser. The elements displayed can be further modified by hiding or changing their appearance.
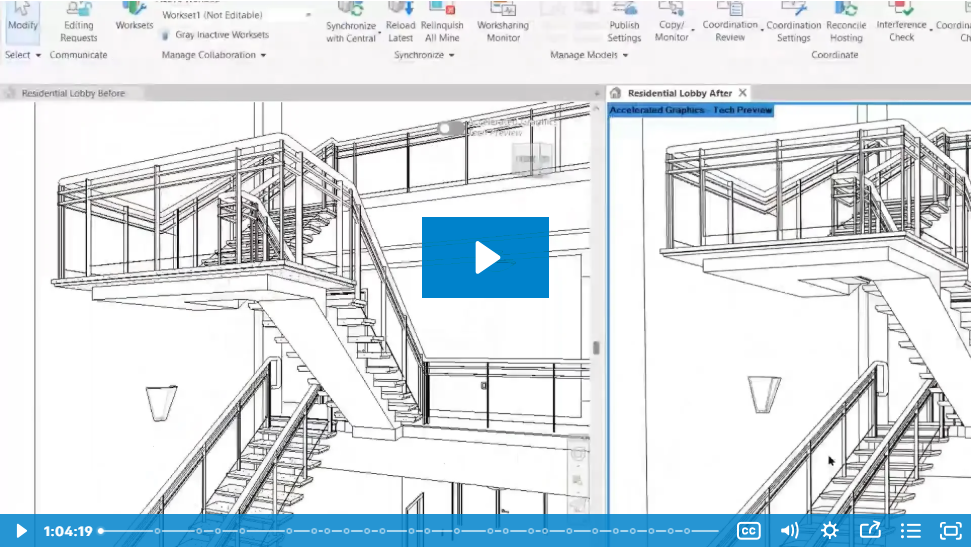
This feature can improve performance when working with complex models by minimizing the need to first create a plan, elevation or section view before using the “Orient to View” option. For more information on Orient to View option, please reference the Autodesk Help Page: “Orient a 3D view”.


Comments