Revit’s MEP systems template contains predefined colors, patterns, and line weights for each of the MEP systems. However, depending on your company standards or your choice of Revit screen color background may make some of these systems difficult to see.
These simple steps will help you modify the default colors of the MEP systems for your MEP project template.
Review the current MEP Systems settings
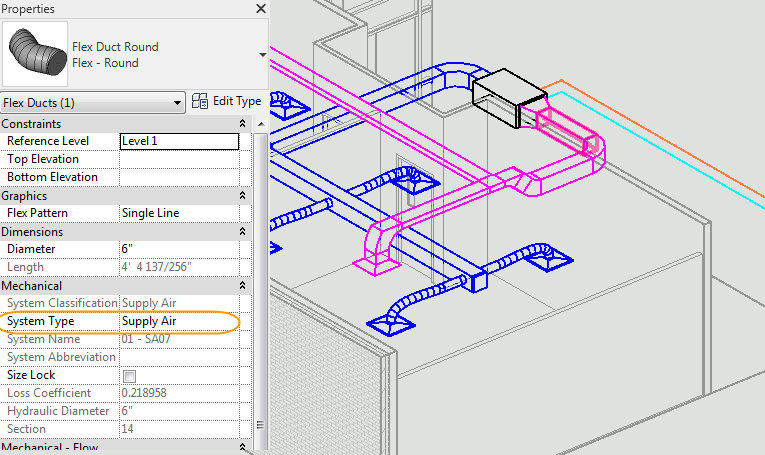
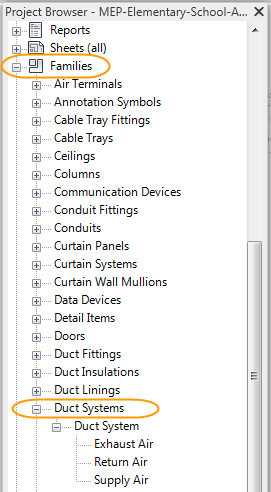
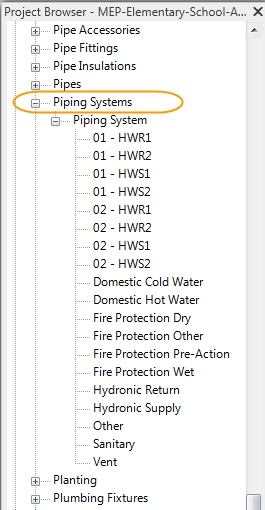
The MEP systems are stored in the project template and are defined within the project Families: Duct Systems or Piping Systems. View a model in Revit to see the current Systems settings in Revit. Select a piece of Duct or Pipe to review the current System name that is defining the properties of the element selected.
Changing the Default system display
In this example, I will adjust the Duct Supply System:
- Expand Families in the Project Browser
- Locate the system type that you want to modify
- Expand the system to display the list of the current Duct or Piping Systems.
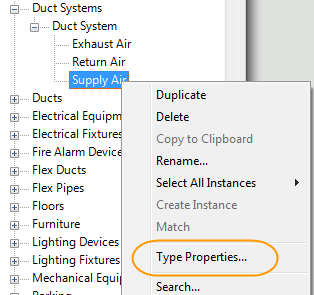
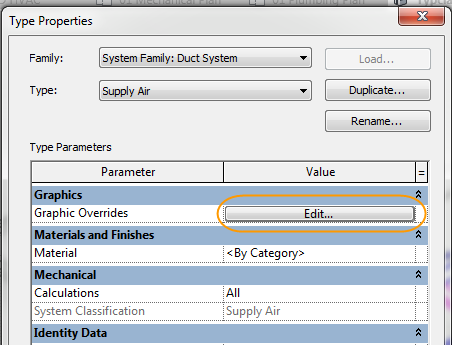
Right click on the System and select Type Properties
The Type properties Dialog box will open:
- Beside Graphic Overrides, select Edit
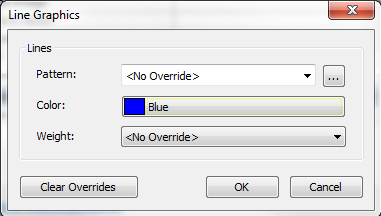
- In the Line Graphics Dialog box, make the desired adjustments to the display of the system. Select Ok when finished
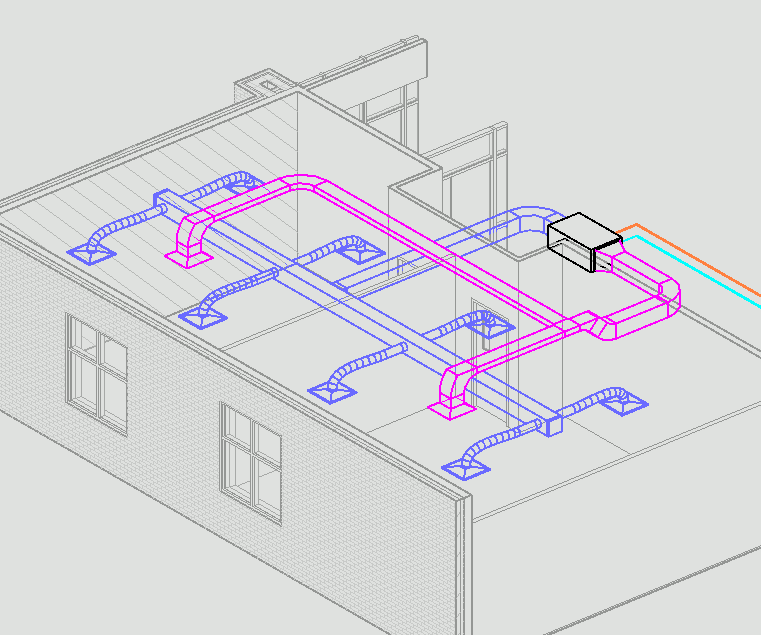
- The modified MEP Supply Duct system:
In this example, the supply duct system has been defined with a light blue color.


Comments