Curtain walls in Revit® do not have the ability to rotate grid lines at angles after the horizontal or vertical grid has manually been placed. There is a work around for this and will demonstrate how to achieve the diagonal mullion look on a gable end curtain wall.
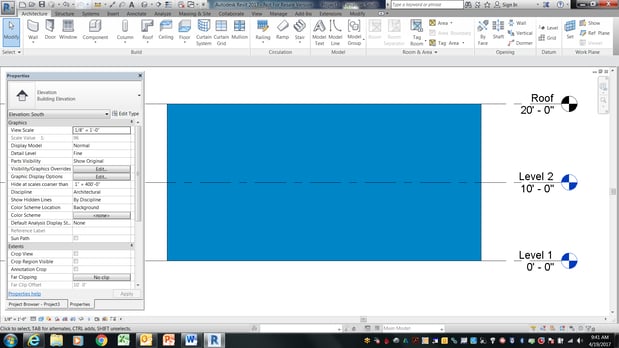
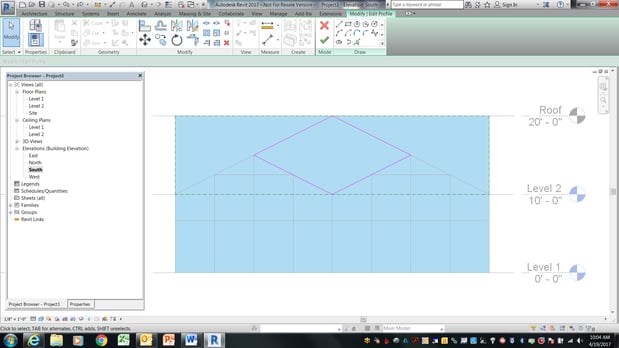
First, the curtain wall can be drawn to width in the normal rectangular fashion. Working in the perpendicular elevation view, we can adjust the profile of the wall before placing grid lines or mullions.
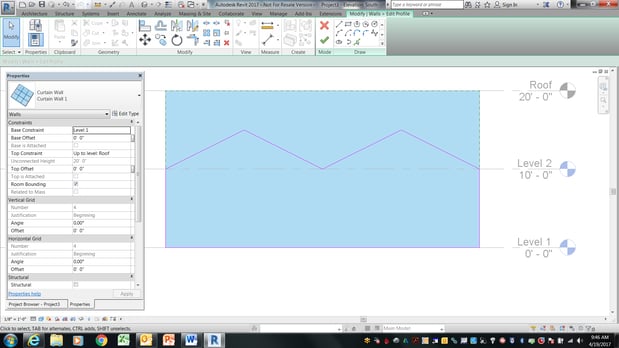
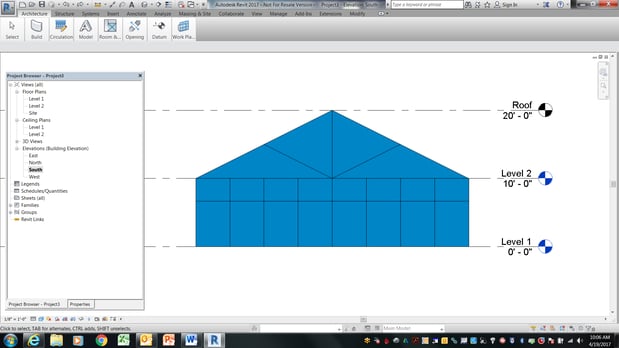
The diagonal mullions will automatically be placed if we make the profile shaped as below.
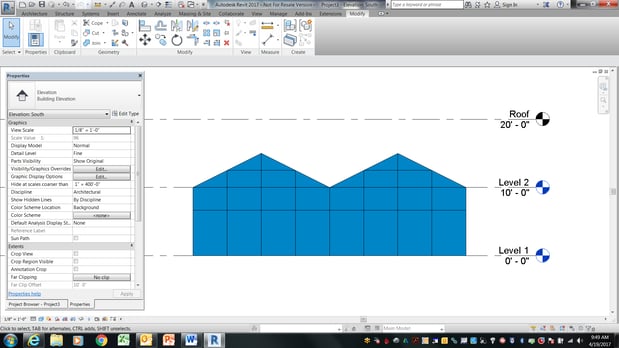
Another rectangle wall is drawn from the second level to the roof.
This profile is edited to fill in the center of the gable wall.
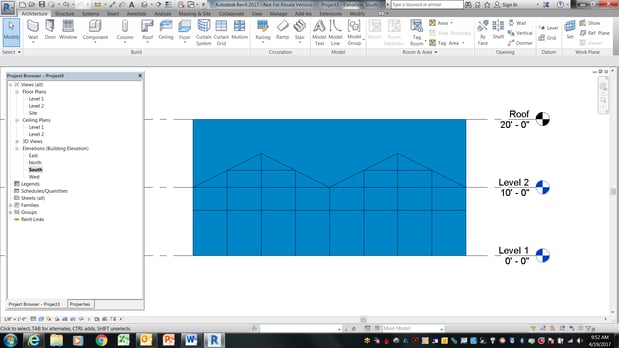
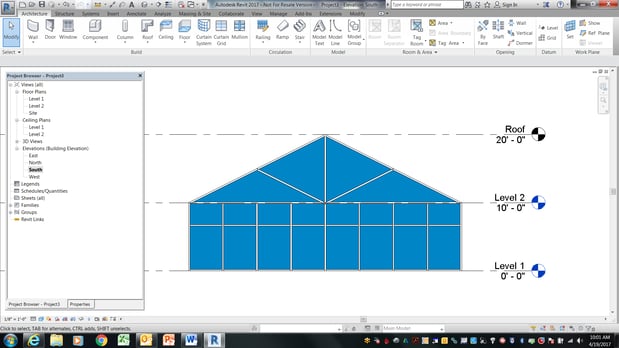
By removing segments of the grids, the vertical mullions will only go to the second floor level.
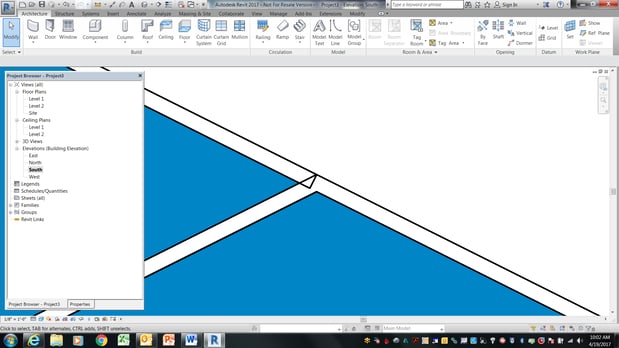
After modifying the grids to the desired look, the mullions can be added. In the example below there are a few overlapping mullions that can be cleaned up graphically by using solid filled regions in any views of the wall created. The end result will be a gable end curtain wall with intermittent diagonal mullions.
I hope this helps with any custom designed curtain walls that you may run into in the future.
Good Luck and enjoy!


Comments