There are two options for creating a down spout.
- One option is a wall Sweep and it will place a very simple straight down spout.
- The second option uses an in-place family sweep where you define the path that you would like a profile to follow.
BASIC - Downspout using the Wall Sweep:
Prepare the project file: load the desired profile that you want to use for the sweep.
- On the Insert Tab select “Load Family”. Scroll down to the “Profile” folder and expand it to reveal the profiles. Scroll down and select the “Down Spout” profile and select open.
The profile is now loaded in your project. Next we will assign it to a Sweep Type
- On the Architecture tab pick the “Wall” drop down and select “Wall Sweep”
- Select “Edit Type” to create a new Type and assign the down spout profile
- In the “Type Properties Dialog box,
- Select Duplicate,
- Enter a new name for the sweep, select ok
- Under Construction change the “Profile” to one of the downspout profiles.

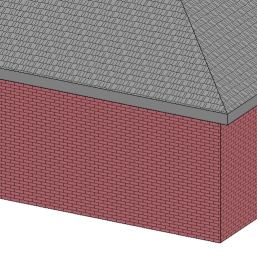
Select a view where you can see the wall that you want to place the sweep on.
On the Architecture tab pick the Wall drop down and select Wall Sweep.
- Set the Type to the Type you created in the previous step. For this document I have named it Drain Pipe.
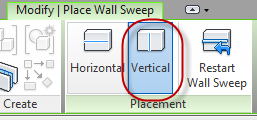
- On The Modify |Place Wall Tab select “Vertical”
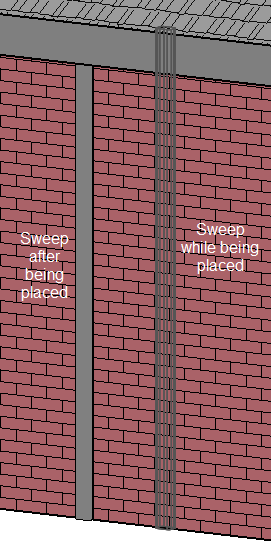
- Hover over the location on the wall that you would like the sweep to be placed and select the point on the wall.
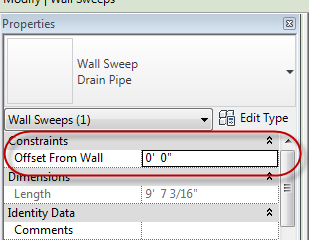
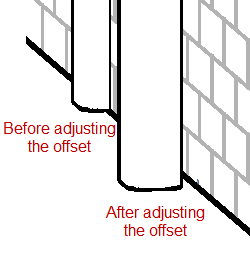
This profile families insertion point is in the center of the wall and the Drain Pipe will need to be moved to sit on the outside of the wall.
Select the Drain Pipe Sweep and modify the offset from the wall in the properties dialog box.
Intermediate - Downspout using the In-Place family sweep
Prepare the project file: load the desired profile that you want to use for the sweep.
- On the Insert Tab select “Load Family”. Scroll down to the “Profile” folder and expand it to reveal the profiles. Scroll down and select the “Down Spout” profile and select open.
- Switch to a plan view and add a Reference plane crossing through the wall where you would like the Down spout to be located. Once the Reference plan is placed, select it and name it in the properties dialog box (for this exercise I named it Drain Pipe)
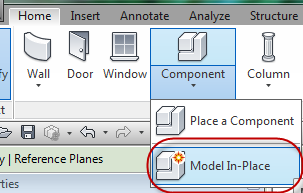
- To place the In-Place Sweep, on the Architecture Tab select the drop down on “Component”, then Select Model In-Place.
- Select a Family Category (I would suggest Specialty equipment or possibly walls or roofs.)
- Give the Family a name. For this exercise I called it Down Spout.
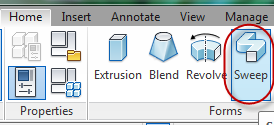
- Select Sweep for the type of Form you want for the In-Place Family.
- Select Sketch Path on the Sweep Panel. This will allow us to draw the path we want the down spout profile to travel. Keep in mind the down spout insertion point is in the center of the pipe and that is the point that will align with our path.
If prompted to choose a work plan, select the work plane previously defined (Drain Pipe).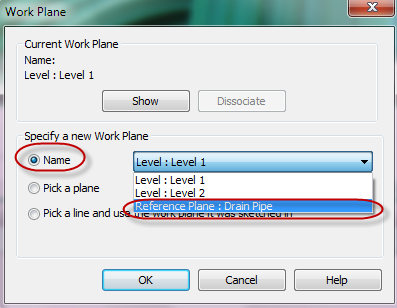
NOTE: If defining a work plane does not display, select Set Work plane to prompt you to choose the Drain Pipe work plane.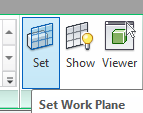
- Select which Elevation view is best to layout the path in the Go To View Dialog box if prompted.
- Zoom into the building and use your draw tool to layout the path for the Drain Pipe
- Use your measure tools as needed to move the Profile Path to the desired offset from the building.
- Once the profile path looks correct select the Check to finish the Profile Path.

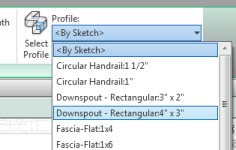
Now we can choose the Profile we want to apply to the Profile Path.
- Select the Profile <by Sketch> Drop down to select our previously loaded Down Spout profile.
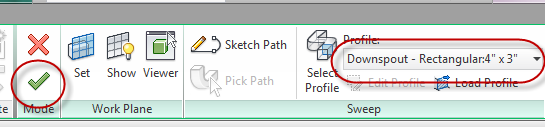
- Once the Profile has been assigned select the Check to finish the Sweep
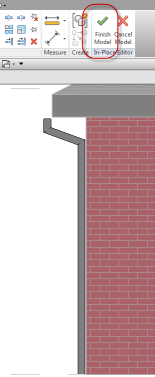
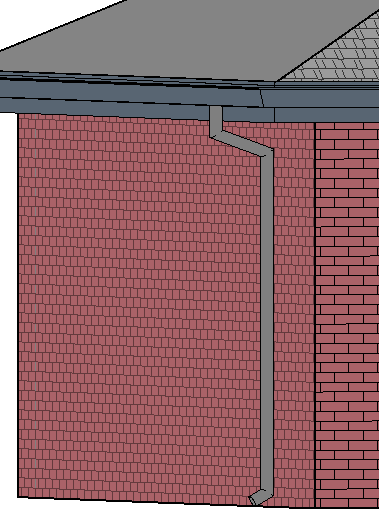
If everything looks ok select Finish Model.
Note: This image has the Gutters turn off for better visibility.
If you need to make adjustment to the Sweep path, select the Drain Pipe and select Edit Sweep.
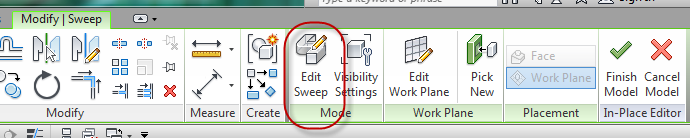
This will put you back in edit mode and you can modify the Sweep Path and associated profile.


Comments