When you launch Fusion 360, you are immediately presented with an empty design. You can consider this design a new “part” file if you begin sketching and then creating features.
However, you can also turn that design into a new “assembly” file with “internal components” if you follow these steps:
- In the new design, choose the Solid Tab/Assemble Panel/ “New Component” command.
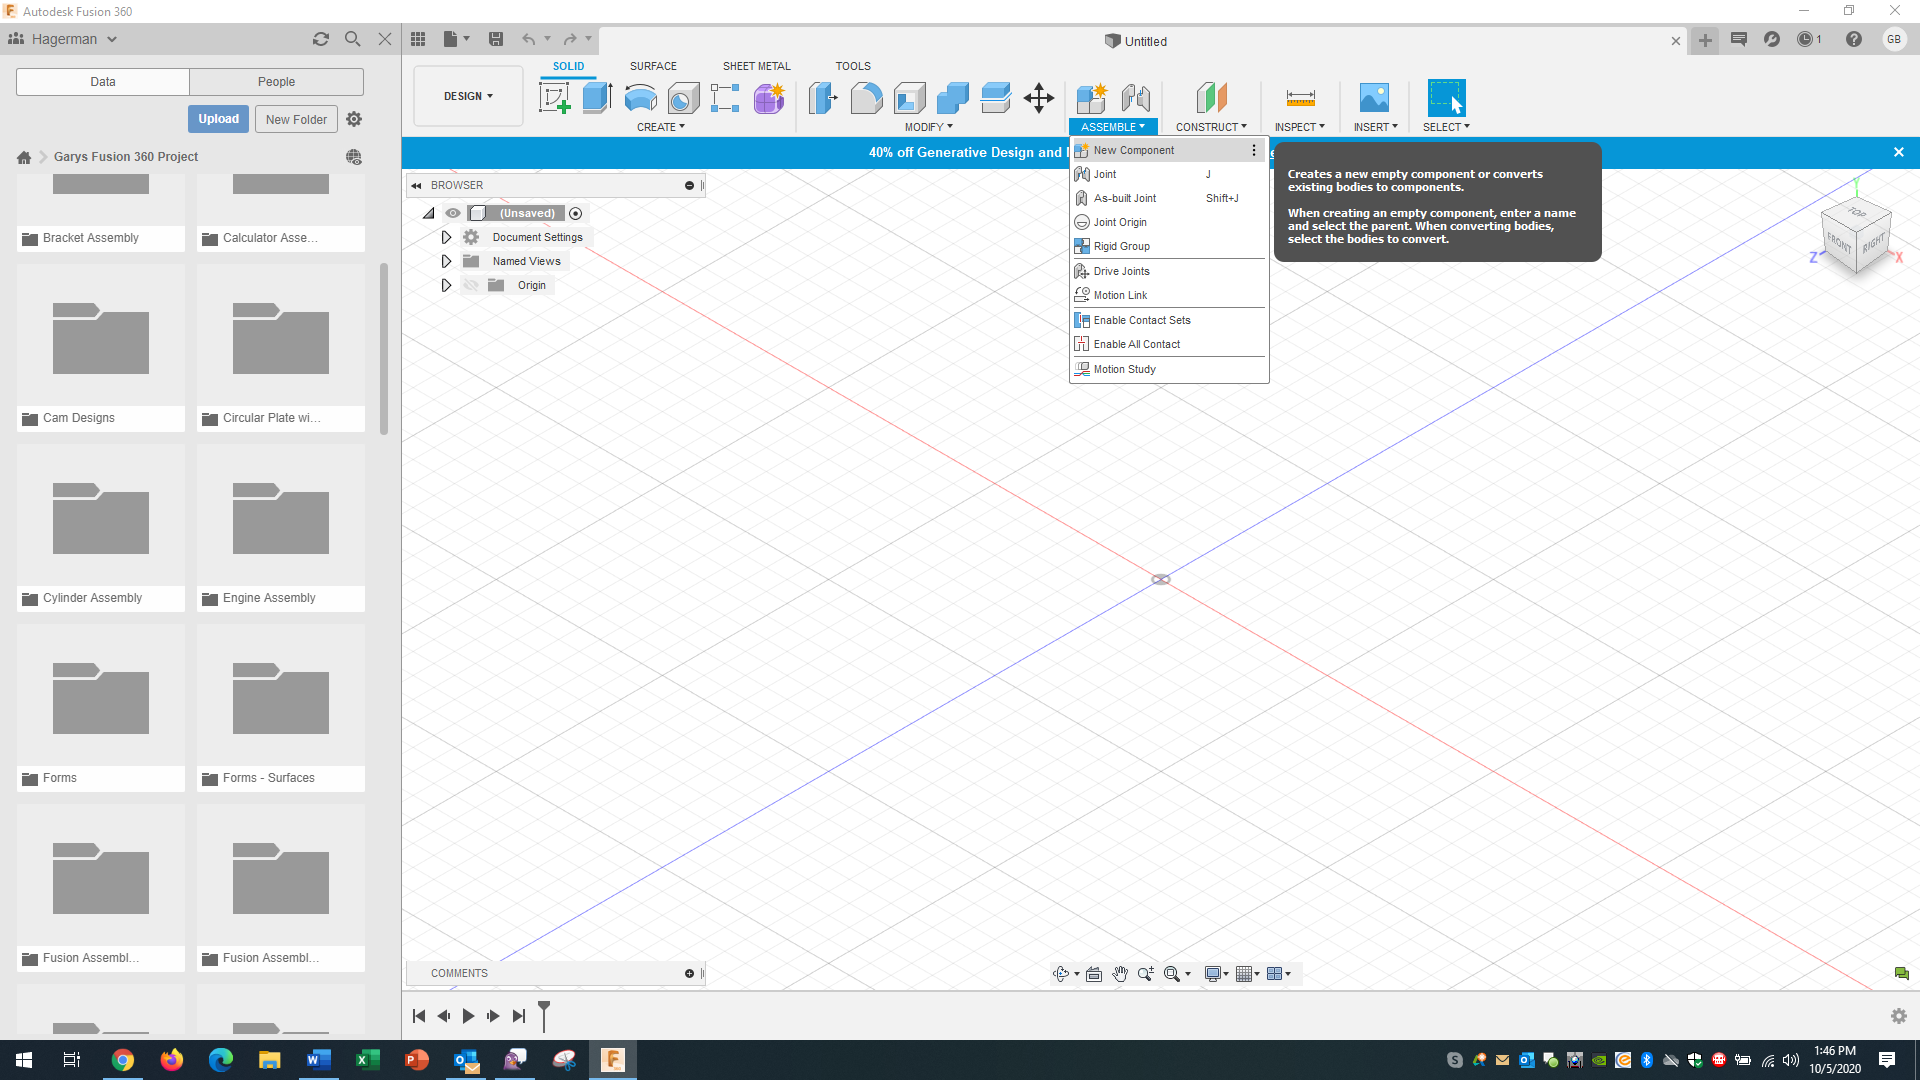
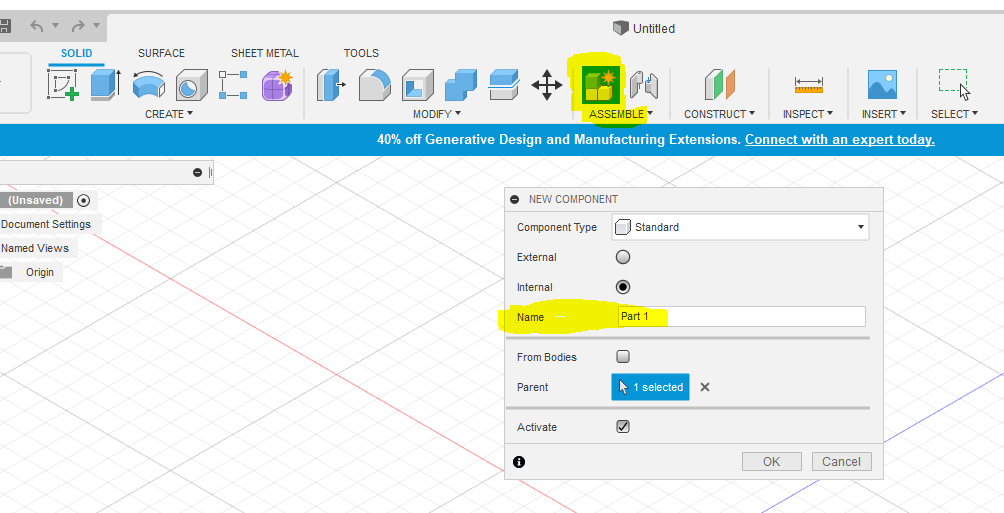
- Notice that in the dialog box that “Internal” is the default of Fusion 360. Enter a filename that you consider to be the first internal “part” in the assembly:
- As soon as you complete this command, the original design has become an assembly, and it contains one internal part with the name that you entered:
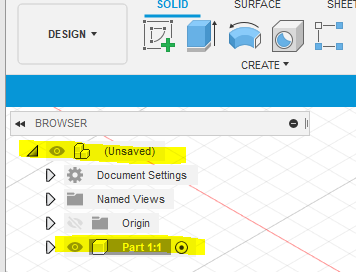
- Now is a good time to give the assembly a name. Move your mouse to hover over the (Unsaved) assembly name on the top of the Browser. A circle will appear to allow you to “activate” the assembly level. Choose the circle to complete the activation:
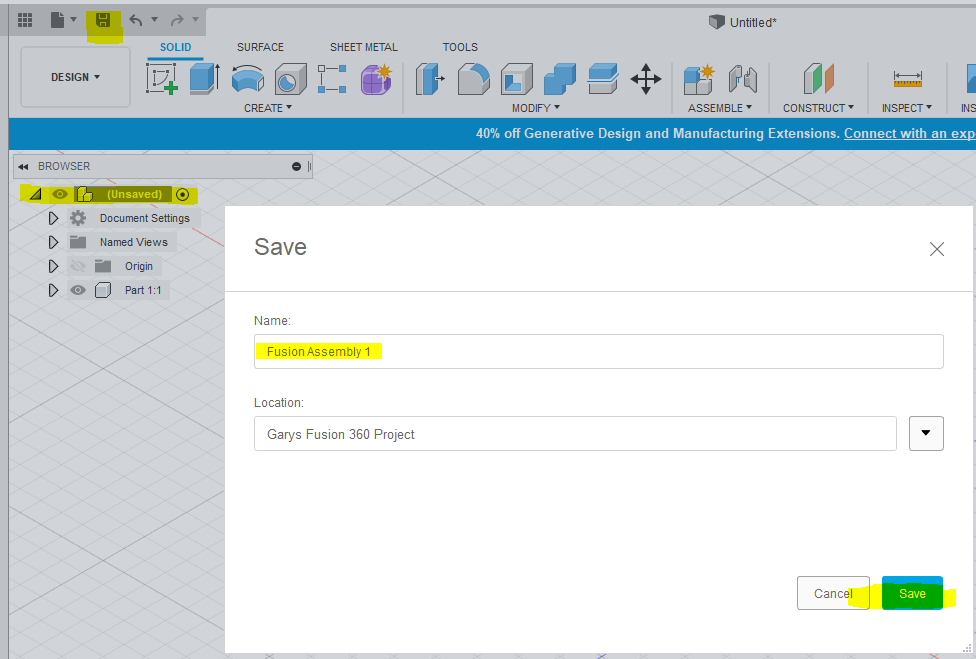
- Choose the "Save" icon. Enter an assembly name and choose Save.
- You have now started an assembly with internal components. To add additional internal components, repeat the process of choosing the “New Component” command.
There are multiple ways to create an external component inside a Fusion assembly design. One method is to choose the "External" radio button in the "New Component" command. Another approach is to find an existing component and “Insert into Current Design”. First, let’s look at the “External” radio button method:
- Make sure the top level of your design is active such as in the next screen capture.
- In the current design, choose the Solid Tab/Assemble Panel/ “New Component” command.
- Make sure to choose the “External” radio button:

- Once you complete the command, look for the “Link” icon next to the filename:
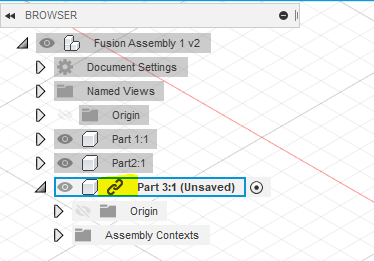
- Here in the screen capture, my first two parts are internal, but my "Part 3" is external.
Let’s take a look at the “Insert into Current Design” method:
- Leave a design file open.
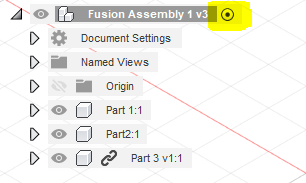
- Activate the Top Level of the design, such as the next screen capture:
- Navigate to the existing part design and highlight it:
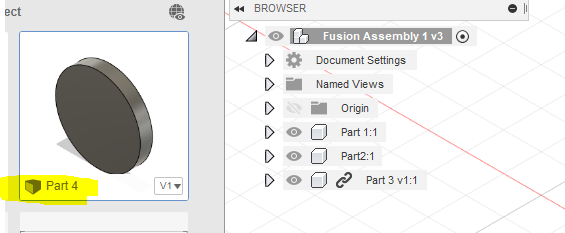
- Right-click on the file (My example is Part 4), choose "Insert into Current Design"
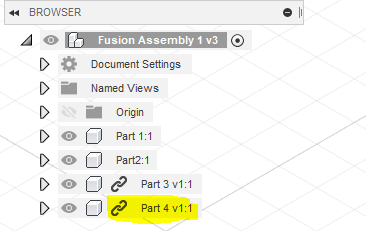
In conclusion, Fusion 360 allows multiple ways to create assembly design files. I hope this helps!

Comments