Many of you have probably run into the following when generating reports from your AutoCAD® Civil 3D® projects:

Wow, pretty generic and downright BORING!!!
As a user, you have the ability to customize your reports so that they actually represent your company’s information and standards, without learning/using VBA.
Start the customization by selecting the “Edit Report Settings” icon found here: Toolspace > Toolbox panel > upper right-hand corner, which will open the Edit Report Settings dialog:


We can expand the “trees” by simply clicking on the “plus” symbol next to the appropriate collection, or we can expand all of the trees by selecting the Expand Tree icon:

As you can see, there are a variety of collections to customize. We will do the Owner and Alignment (the principles will be the same for the other collections).
Expand the Preparer tree by clicking on the “plus” symbol. The value column now shows we can customize the Name and Capitalization.

I’ve entered my name and selected Title Case. This way, no matter how I typed my name in, it will always show on the report as Title Case. Continue to complete the information for your Company.

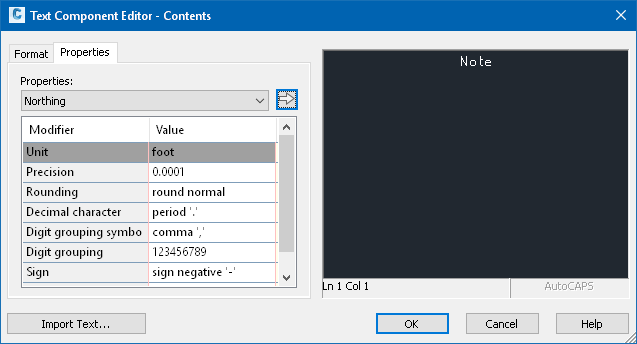
Now let’s move onto the Alignment and expand the tree. Here, we see that we can customize the following settings:
- Coordinate
- Elevation
- Linear
- Angular
- Station

Once you have made your changes, click OK at the bottom of the dialog box.
![]()
Let’s see what that same report looks like now:

Note that the Description I used for the Alignment also shows here.
Now this is a report that looks more professional and I feel comfortable sending to a client (as well as placing in my project folder)!


Comments