NOTE: This article is valid for 2022 releases and newer.
With the release of the 2022 products, Autodesk® has updated the Installer. Until now, we could download the software, run the Installer, choose to install, create a deployment, plus a few other options. Now, you can still download the software from your Autodesk® account, but the only choice is to install with no other options. If you’re looking for the deployment option, you’ll find it in your account on the left side; Custom Install. This article dives into this new tool.
The New Custom Installer
In the past, we had to download the software and install it and then install any updates, hotfixes, and other components afterward. We usually use the Autodesk® Desktop App for this, or go back to our account and download/install them separately, or contact the IT department for help. If you were creating deployments, you would have ended up with the default install and the deployment, which is what we were delivering to the users since that contained all the necessary components they may have needed. But, having both sets of installs for the same tool could have meant someone choosing the wrong one and possibly having to come back for help with missing components.
Now, you're able to create the deployment package first, then download it to your environment and deliver it to your users. Doing this can make for a leaner install configured for your needs and only one install stored in your environment.
Let’s create a new deployment with the Custom Install tool.
To create a deployment in 2022 and newer:
- Log into your Autodesk® account at autodesk.com.
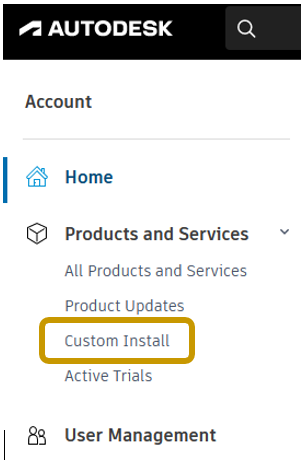
- On the left side, choose Custom Install.
If this is your first one, the next screen should look like this:
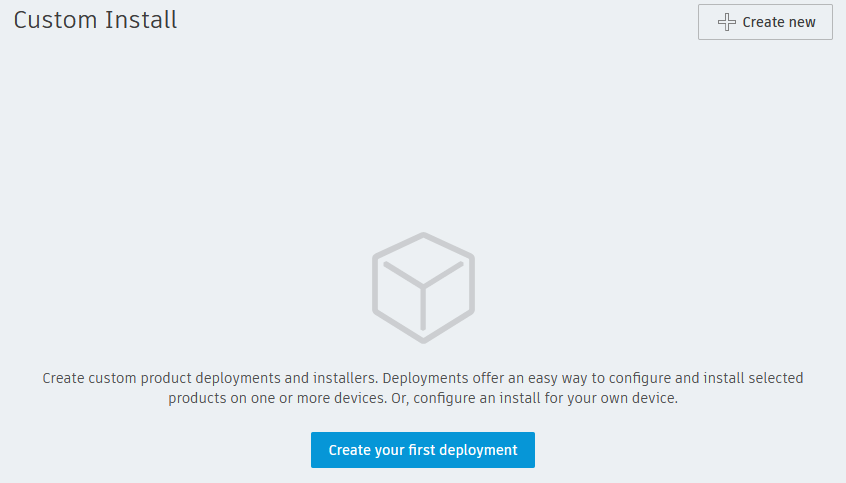
- Choose Create Your First Deployment, or Create New.
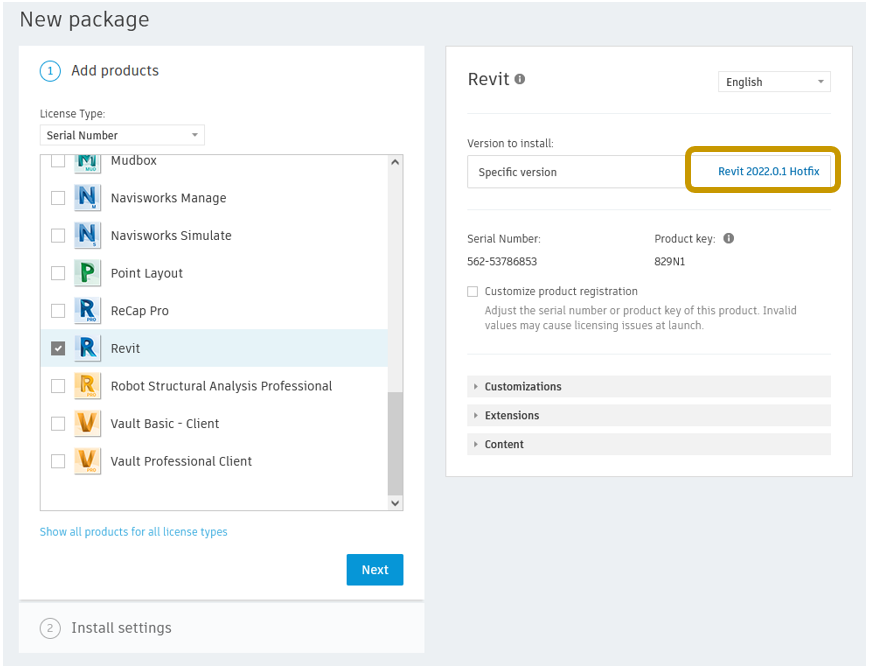
- On the New Package screen, the Add products section will become active. Select the License Type that applies to you.
- Next, select one of the products listed. For this example, Revit® will be used.
Note: It is possible to select more than one product to include in a deployment. However, I recommend choosing only one. When creating deployments one product at a time, you'll have better luck automating the delivery later because the users in your environment may need a different combination of products. Including multiple products in a deployment works well when all users are using the same products. I will cover automating different combinations of deployments in a future article.
- The latest release and update are selected by default. To choose a different release and/or update, click on the blue link on the right in the Version to install
Next, we'll look at each of the rollouts; Customizations, Extensions, and Content.
- Expand the Customizations There are Path Locations and Optional Components listed here.
- Under Optional Components, uncheck all boxes except US English Essential Content. In a production environment, you might choose others here, but we'll keep the optional items to a minimum for this example.
- When finished, collapse the Customizations rollout.
- Expand the Extensions Select the desired extensions. Collapse the rollout.
- Expand the Content Select the desired content. Collapse the rollout.
- Click Next.
The Add Products section will close, and the Install Settings section will become active.
- Enter a Package Name. For this example, we’ll name it after the software, release, and latest update; 0.1.
- Under the package name and description, click Deploy, which will set up the package for multiple devices (users). Click Install instead if you'd like to set it up for a single device (i.e., yourself).
- Enter the Deployment image path. If users are downloading to their workstations, I recommend the following path:
C:\Autodesk\Deployments\<PACKAGE NAME>
For this example: C:\Autodesk\Deployments\Revit2022.0.1
Note: The deployment image path can be on a server if needed.
- Expand the Advanced Options
- For the Installation Path, accept the default.
- Under Component Install, select Autodesk Desktop App.
- Under Image Creation, select Use Symbolic Links.
- Select I agree to the Terms of Use.
- Click Save. This will store the deployment in your account. You can click Download, but let’s ensure that it’s captured first.
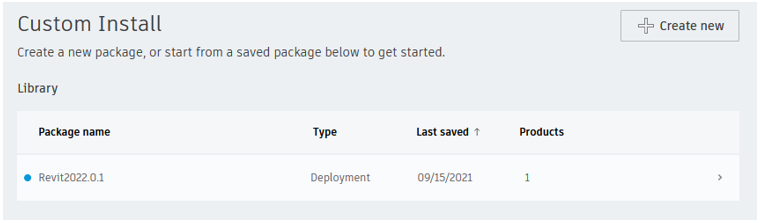
- On the Custom Install screen, hover over the deployment and click Download.
- In the dialog that appears, click Save File. Save the file to the folder C:\Autodesk\Deployments.
Note: The file being downloaded is a single executable that contains the configuration based on your choices. When you run this executable, the download of the deployment package will begin. A new folder with the name <PACKAGE NAME> will get created, and all files will be downloaded there.
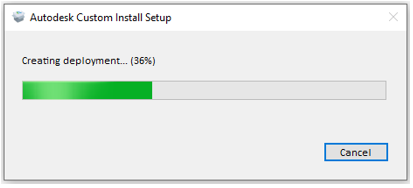
- When ready, double-click the executable to start the download. In this example, the package will be created in the new folder C:\Autodesk\Deployments\Revit2022.0.1.
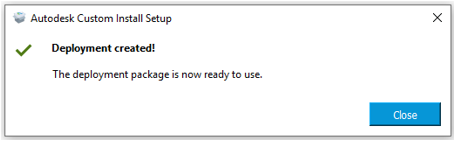
- When the download is complete, click Close.
- After clicking Close, the folder containing the deployment image should open in File Explorer. To start the install, double-click the .bat file in this folder.
The product, latest update, content, customizations, and extensions that you selected will all be installed.
Deploying To Other Users
To share the deployment with other users, you have two options:
- Send them a copy of the executable (.exe) They will run it, and the files will download to their workstation into the path specified in the deployment. Then they will then run the .bat file to start the install.
- Use a server-based deployment path, store the .exe file there, and run it from there once. The package will download to the server. Then, instruct the users to run the .bat from the server.
- (This option is recommended only for users in the office with the server hosting the deployment.)
Deploying to Remote Users
If you have users working outside the office (via VPN, satellite locations, etc.), you'll need to use option 'a' above. Trying to install software or copy a large number of files over a VPN connection will take too long to complete. It will be much faster to send them the executable (or point them to the file share where it's stored) and let them copy it locally to run using their Internet connection.
Conclusion
Hopefully, this article will help you install your products in a more productive and less time-consuming manner. Setting up deployments before install will mean that all updates, hotfixes, content, extensions, etc., can be included in the initial install. This result is that users are more likely to get all of the tools they need on the first try. In addition, the Custom Install tool has a future benefit. The .bat file that is provided in the package is editable. There are commands for installing with a basic UI, installing silently, and uninstalling. The basic UI command is ready by default, while the others are commented out to get you started. In the following article, "Combining Autodesk® Deployments in 2022,” we’ll dive into this batch file as well as some techniques to automate the installs of multiple products.

Comments